New Batch Commencing April 2024. | Remaining Seats: 3 | New Batch Commencing April 2024. | Remaining Seats: 3 | New Batch Commencing April 2024. | Remaining Seats: 3 | New Batch Commencing April 2024. | Remaining Seats: 3 | New Batch Commencing April 2024. | Remaining Seats: 3 | New Batch Commencing April 2024. | Remaining Seats: 3 | New Batch Commencing April 2024. | Remaining Seats: 3 | New Batch Commencing April 2024. | Remaining Seats: 3 | New Batch Commencing April 2024. | Remaining Seats: 3 | New Batch Commencing April 2024. | Remaining Seats: 3 |
Crypto Cipher Newsroom

Creative Drum And Percussion Sound Design With Ableton Simpler

Creative Drum And Percussion Sound Design With Ableton Simpler

Creative Drum And Percussion Sound Design With Ableton Simpler

Creative Drum And Percussion Sound Design


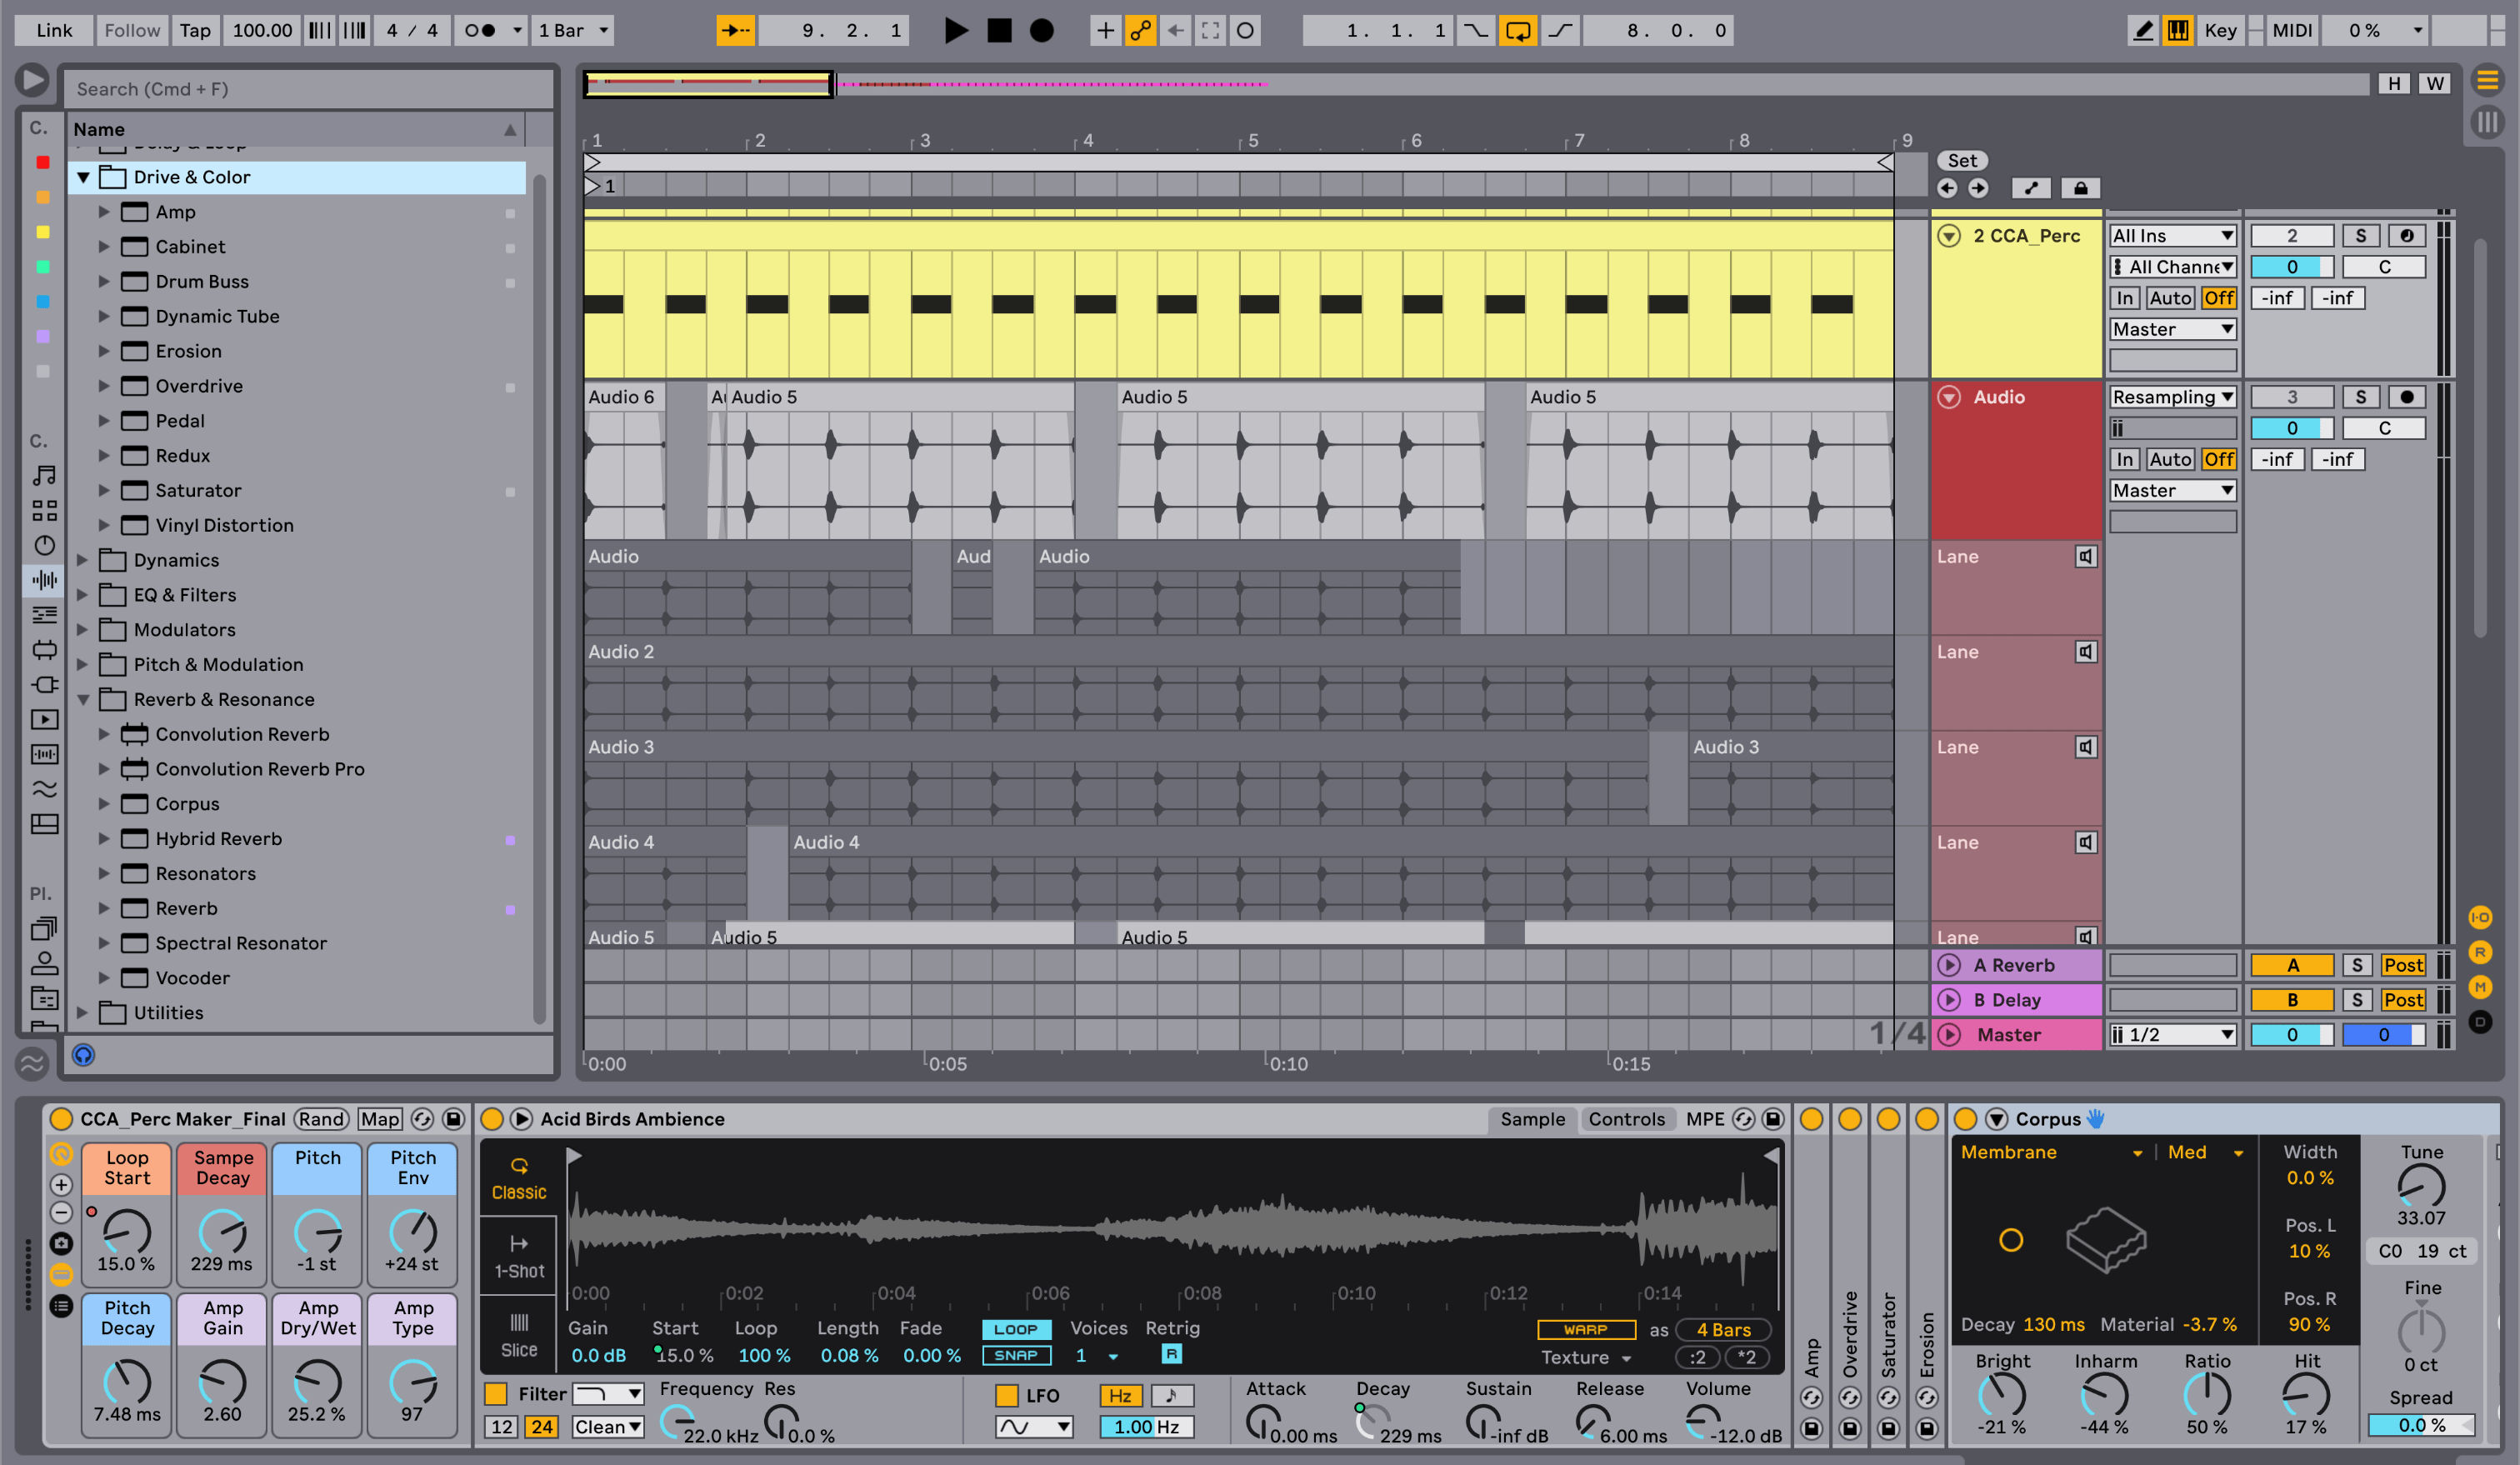
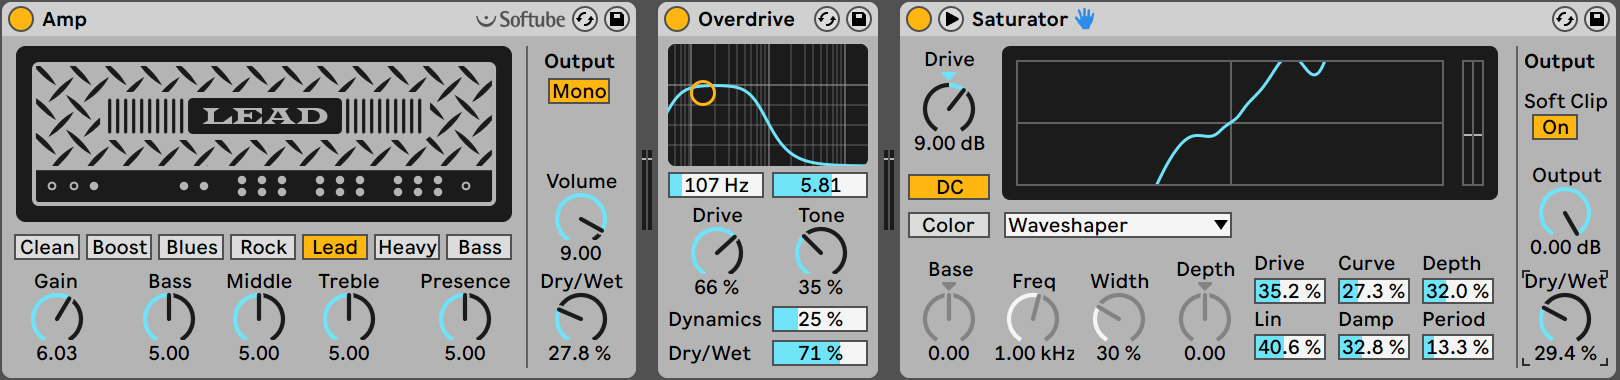
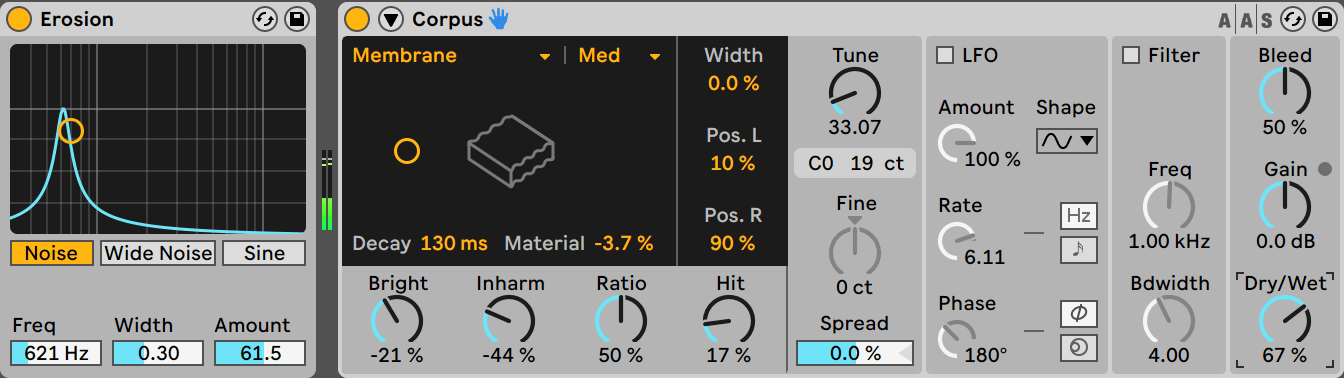
Ableton Live has a lot of tools for creative sound design. In this article we will explore an interesting technique to create your own unique percussion samples from scratch using any sample of your choice. This technique is extremely simple and effective for cooking up new perks quickly removing any need for incessant sample pack diving. We will be using Ableton's simpler for the main sound design aided with some audio effects.


Selecting the Sample

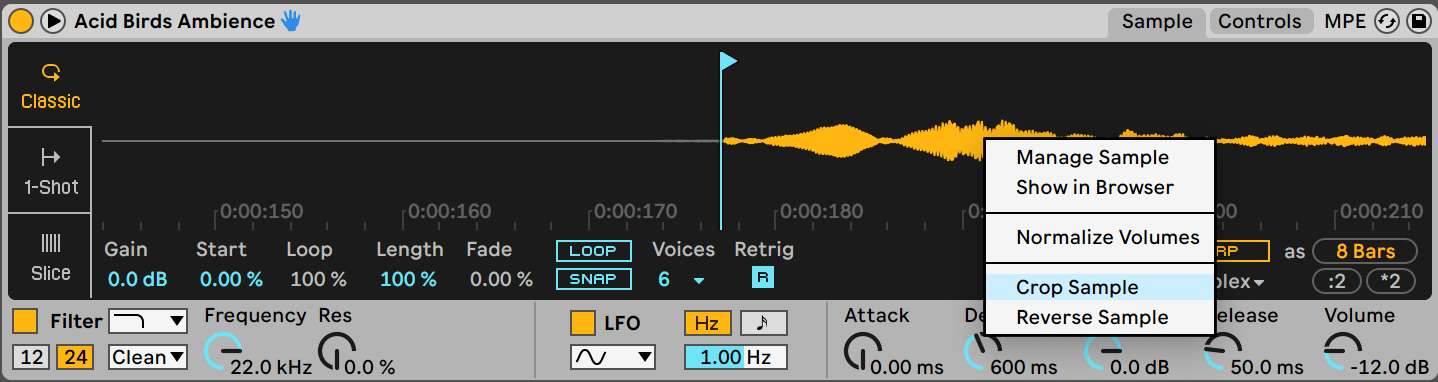
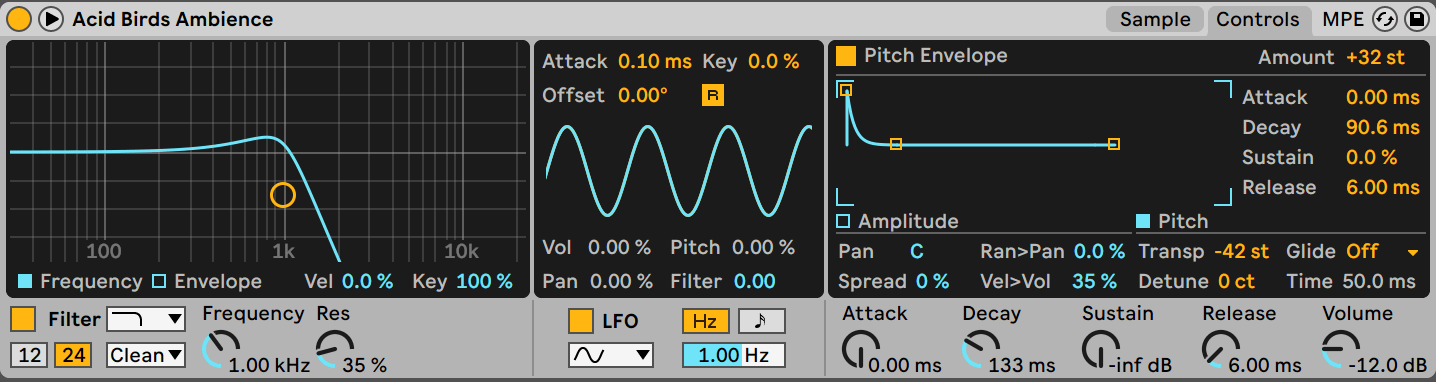
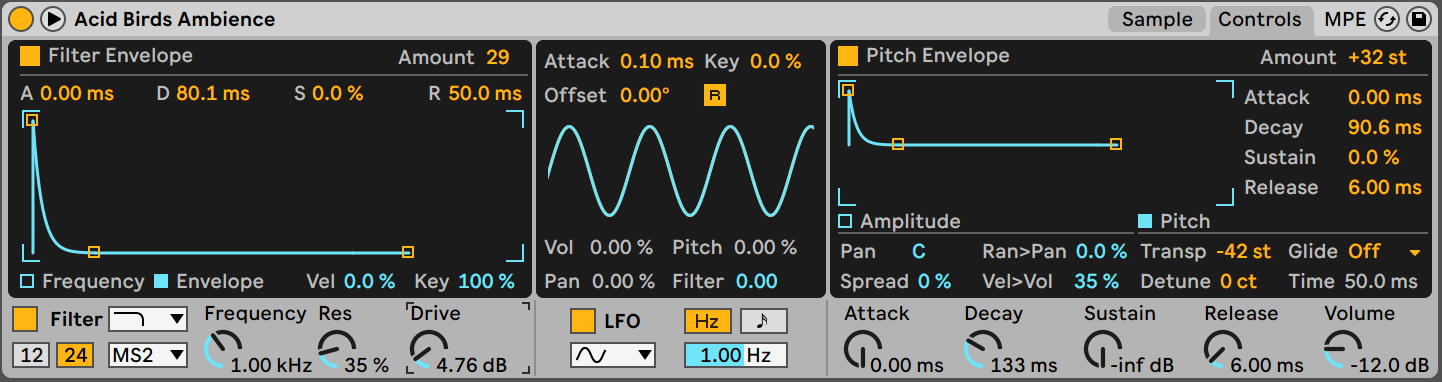
Theoretically you can use any sample you want but we will make the most out of this technique if we use loops or long samples that varies over time and has a lot of textures. Fx Loops are a great choice, so are vocal and bass loops. We have chosen the Acid Birds Ambience Fx loop from the Drive and Glow pack that comes with Ableton Live 11 Suite.


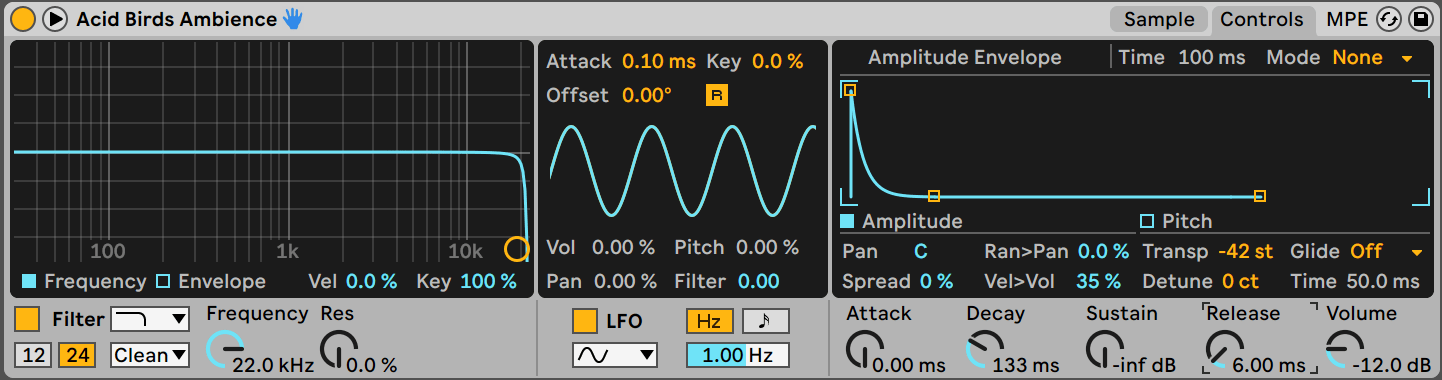
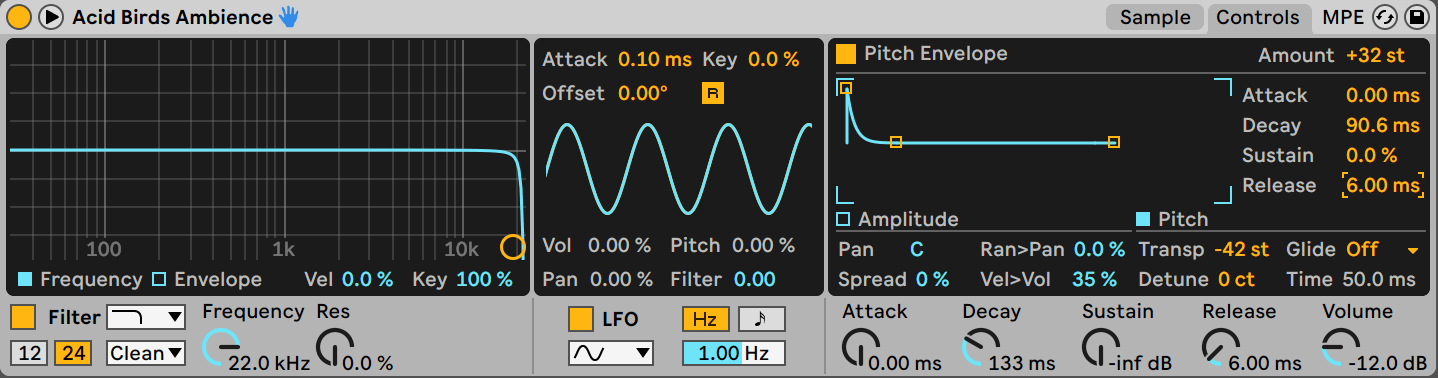
Processing the Sample with Ableton Simpler

Create a Midi track and then add your simpler from the Instruments section of the browser. Add the sample into the simpler.


Now set the start and end points of the Simpler in the correct position to cut to any silence in the beginning or end of the sample and then crop it from the context menu.


Turn the LOOP on and adjust the loop Start control to your liking by scanning the waveform. Also reduce the loop Length control to about 0.10%. Any value ranging from 0.5% to 0.10% will work the best.


We will create a Midi Clip in our Simpler track and add in some notes. I am using a C2 note. Feel free to use your ears and choose a note according to your liking. I have also changed the velocity of these notes using the clip Randomize control. This step will help us audition our percussion sounds easier.


We will shift over to the Controls tab of our Simpler and adjust the Amplitude Envelope. As you can see in the image below I have dropped the Sustain completely and drastically reduced the Decay and Release. Play around with the Decay control to fine tune the timbre of the click sound we have created. I have also dropped the Transpose down to -42st which will help us create some toms and kick drum type samples.


We will also adjust the pitch envelope to make it sound more like a percussion. I have set my envelope Amount to +32st. I have also altered the pitch ADSR. I have set Attack at 0.00ms, Decay at 90.6ms, Sustain at 0.0% and Release at 6.00ms. You can adjust the Decay and Amount controls to fine tune the snappy perc sound we have created.


Adding Some Fx Processing for Texture

Our percussion samples will really start taking shape from this point onwards. Add an Amp after you Simpler. I have selected the Lead setting on my Amp and adjusted my Gain and Dry/Wet controls. You can look at the image below for a reference. The Rock, Lead and Heavy setting work very well. The Amp provides a woody texture to our percussion.


I have also added an Overdrive after the Amp. The Overdrive also provides a lot of low mids to beef up our perc. I am putting the Overdrive around 107Hz with Tone at 35% and Dynamics at 25%. You can adjust the parameters as you like. You can create a wide range of sounds just by using these two effects.

We will process our sound further by adding some waveshaping. We will insert a Saturation effect in our Fx chain and select the Waveshaper setting from the drop down menu.


As you can see in the image above we have adjusted our Drive and Waveshaper controls according to our taste and then adjusted the Dry/Wet. If your sample is clipping a bit then turn on the Soft Clip option. The Saturator adds some character and harmonic richness to our sample.


Adding a Filter Envelope in the Simpler

Now is a good time to go back to the Simpler and add some filtration. You can go through the various filter modes and add some filter drive for some added texture. Also adjust the Filter Envelope according to preference. I like to set my filter cutoff Frequency at a lower value and the Filter Envelope amount at a moderately high value. I have also adjusted the Decay control which has an interesting effect on our percussion sound.


Adding Some Creative Fx Processing to Further Enhance Our Sample

The Erosion audio effect is an extremely handy addition for any percussion sound design. I am using the Noise setting to add some character and fill up the harmonic spectrum of the sound.


Another underrated effect for drum sound design is the Corpus Audio Effect. It is a physical modelling tool that imitates the sound of different objects being struck. Here we have chosen the membrane option from the drop down menu to mimic an actual percussive instrument. You can use the image above as a reference point. Play around with the settings because there is no fixed rule here other than keeping the Decay at lower value. The Bleed control also adds some interesting textures.

At this point you should have a realistic woody sounding percussion sample that is completely unique and made from scratch.

Adding Some Final Touches

As a last step to our sound design, I like to group everything into an Instrument Rack. If you look at the image below then you will see that I have also mapped Simpler Decay and loop Start controls to Macro 1 and Macro 2 respectively. This technique really shines at this step because now we can adjust our loop Start macro (S Start in the image) and create huge variation of different percussion sounds. We had chosen the initial sample because it had a lot of variation over time. Playing around with the Start will play different parts of the whole sample, creating different sounds and textures. You can also adjust the decay to create different characteristics in your percussion.


Feel free to map other controls to the macros. Pitch Envelope Amount and Decay controls are also useful as macros. You can look at the image below for a reference of all the different macros you can map. After you are done, you can save the preset. You can recall this preset at different projects and replace the sample inside the simpler to come up with new percussion sounds.


Please download this preset and a bonus sample pack with one shot samples created using this preset for free from the Downloads section of our website or visit the link given below. 

Download Link: Click Here