


Crypto Cipher Newsroom
How To Use Equalizer | 7 Effective Tips for Mixing
How To Use Equalizer | 7 Effective Tips for Mixing
Equalizers have always been one of the main tools that are used in mixing and mastering. Their role is to control the harmonic spectrum of our sound. An Equalizer employs various types of filters to attenuate, boost or remove a range of frequencies. The common DAW Equalizer is a parametric equalizer that would have a few filters that can be applied and controlled independently of each other. Thus we can use these filters to control multiple frequency bands at the same time. In this article, we will take a look at 7 steps that will help us to bypass a lot of confusion and get good results. These techniques are not absolute in their applications. Feel free to experiment with these tips to get different results.
Step 1: Rolling off undesirable bass frequencies
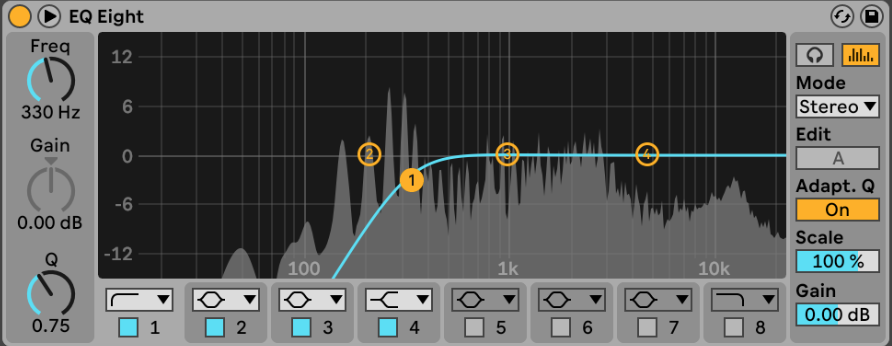
It is important to EQ out all the low rumble of certain instruments with a high pass filter. In the picture above we can see an Equalizer with a high pass filter engaged, filtering out all the frequencies below 140Hz on a mid-frequency dominant percussion hit. This will help our sound sit better in the overall mix because the unwanted low frequencies will not clash with our bass or kick. Making our low end as tight as possible helps us to achieve better results on mediocre speakers that struggle to produce bass frequencies cleanly. Background vocals, claps, guitar melodies can muddy up our lows and low mids if we don't roll off their low end. Moderation is key here we do not want to overdo this bass roll-off. Check where the fundamental frequency of your instrument lie. If we filter out our fundamentals then the character of our sound will change. If this is not desired then only filter up to the point where you can hear the signal audibly changing from there onwards.
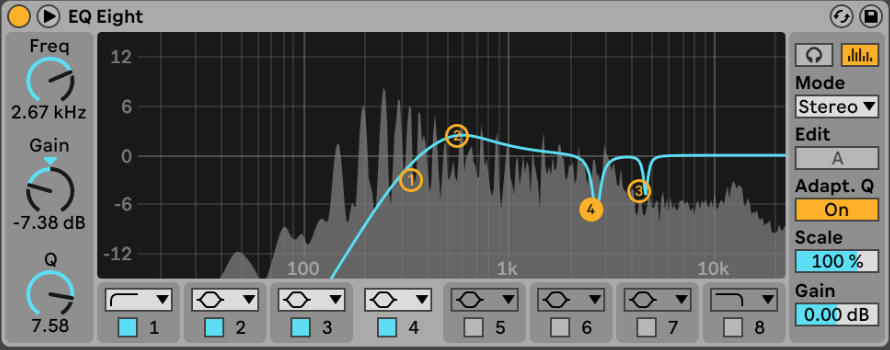
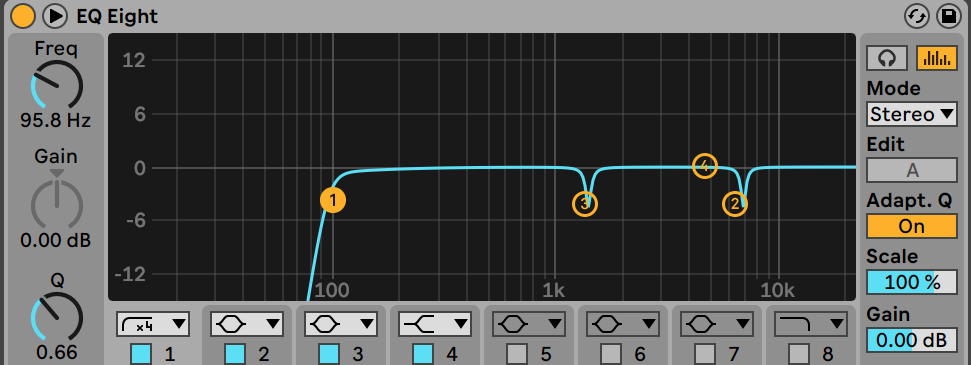
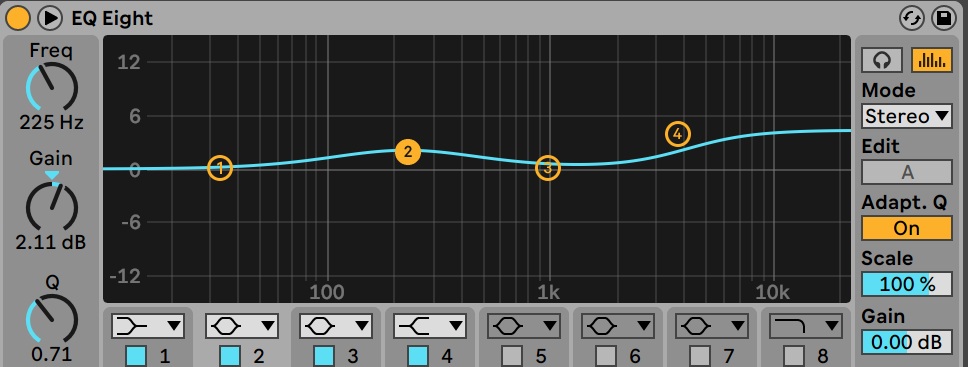
Step 2: Find troublesome frequencies and remove them
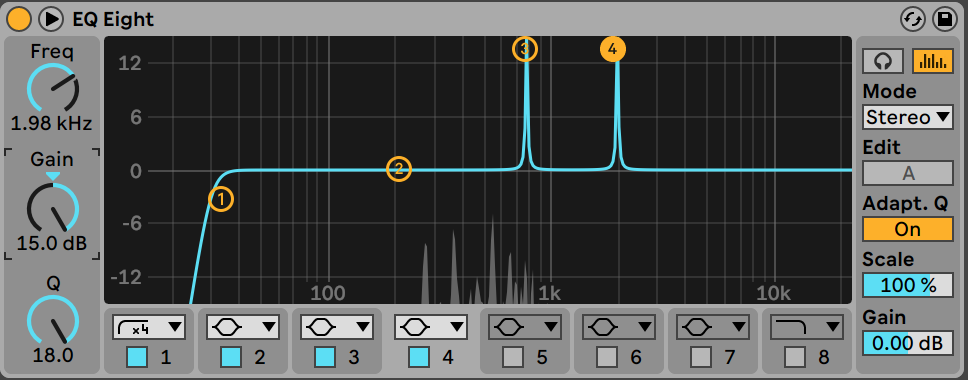
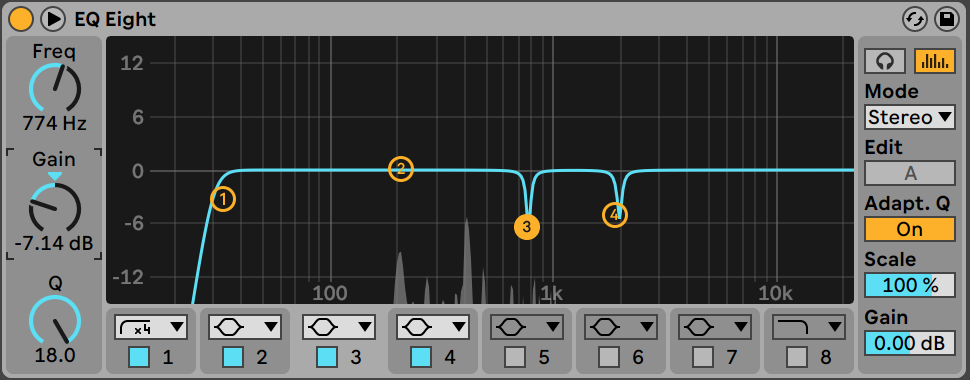
A sound will usually not have nice sounding frequencies all across the frequency spectrum. There will be certain frequencies that create harshness or muddiness in our tone. If we look at the images above, the Equalizer at the top is highlighting unpleasant frequencies in our signal. In the EQ on the bottom, we are attenuating these frequencies in a controlled manner to make them quieter in the mix. To detect problematic frequencies you will need to use a bell curve with a high Q value so that we can pinpoint them and control them without affecting other frequencies. You can always lessen the Q value to broaden it once we have identified them. We need to keep ourselves in check because it is very easy to overdo the number of cuts. This might lead to a thin-sounding tone, lacking in character.
Step 3: Boosting with a broad Q and Cutting with a narrow Q
As a general rule of thumb, cuts work better than boosts in an Equalizer for many reasons. Boosting can harm our headroom if we don't have much to spare initially. In that case, we would have to turn the volume of our signal down. Boosting can also add distortions and artifacts while reducing the resolution when pushed. Provided we have enough headroom, it is wise to boost with a lower Q value so that the frequencies are boosted along with their neighboring frequencies, giving us a more natural-sounding result. Cutting with a broad Q does not work as well. A wide-cut can attenuate a lot of frequencies in our mix that are required for the character of the sound. It can also make our instrument much quieter in the mix. As a result, narrow EQ cuts work much better as it preserves the tonal characteristics of our signal.
Step 4: Don't let high-frequency harshness get too overwhelming
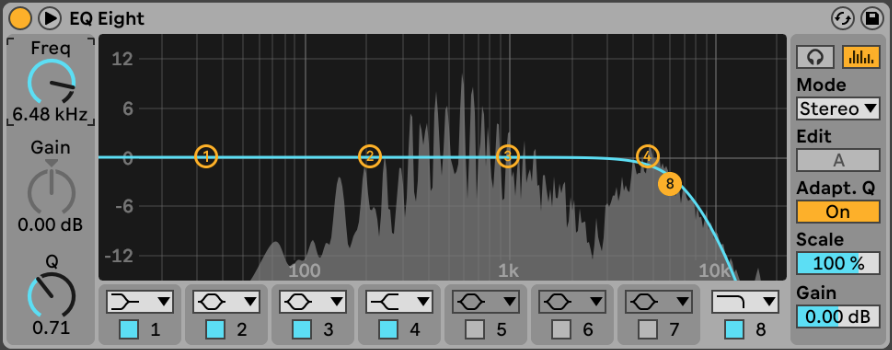
Certain instruments do not require top-end presence in our mix. Sub-bass for example does not require an abundance of high frequencies. A lot of noise can creep into our mixes if we do not control the top end of every instrument. Clearing out the highs will make space for our cymbals, hi-hats, and crashes. No listener never appreciates ear-piercing sounds in a song. Using a low-pass filter in every situation is also not a feasible solution because a scenario might arise where the maintenance of the tonal characteristic of a signal would mean that we cannot use a low-pass, as the same time the sound might be conflicting with perhaps a hi-hat; in that case, we would need a high shelf to attenuate the high-end of our sound, while not completely eliminating it.
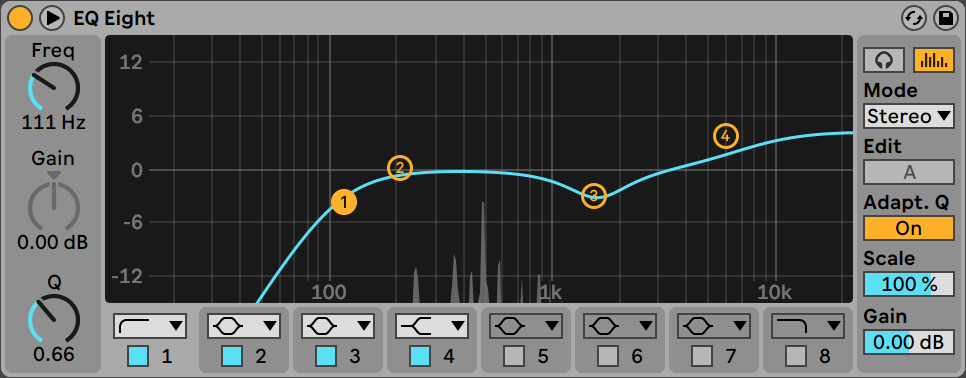
As we can see in the image above, we are using a high shelf to attenuate the high mids and highs of the signal. We are not using a low pass because then the frequencies from 3KHz to 5KHz might be removed. This is the area in the spectrum where a very important tonal characteristic is lying, that is why we wanted to preserve it.
Step 5: Using different Equalizers together
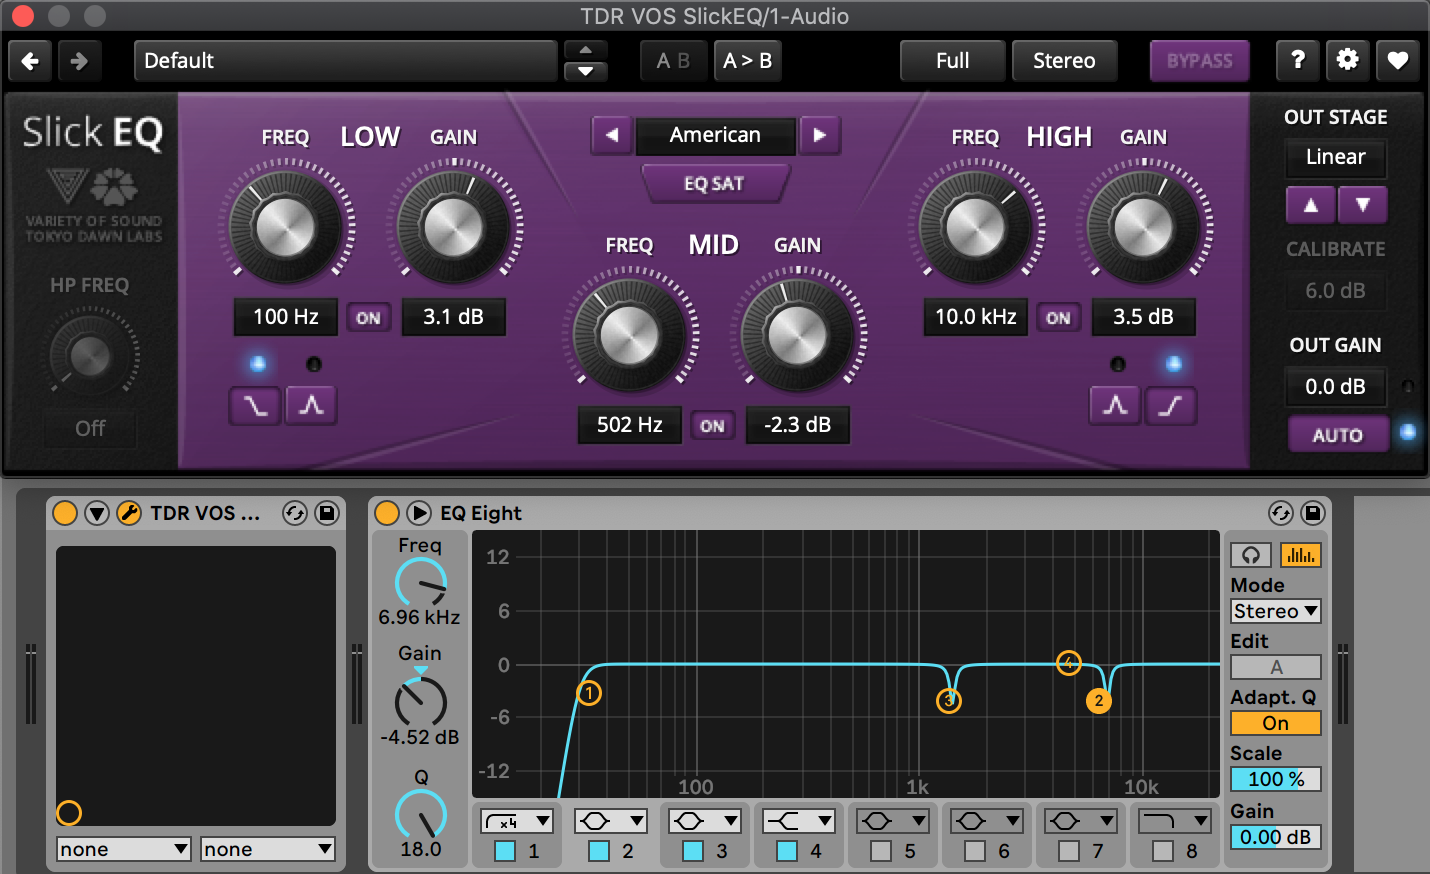
Different types of Equalizers have different characteristics. Our stock EQ plugin sounds absolutely different from a plugin emulation of an EQ. Instead of using different types of curves on a single EQ, you can do the narrow cuts with your stock Equalizer and your wide boosts with plugin emulation. This technique can add a lot of subtle details to our sound.
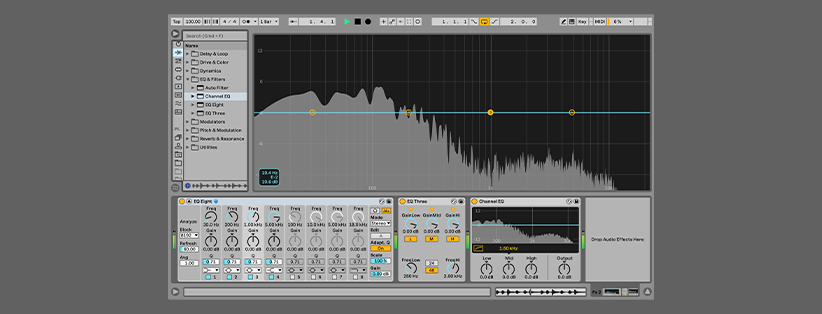
In the images above, we are using the first Equalizer to do all the correctional work, while the second EQ is just gently boosting the top end overall so the signal is more present in the mix.
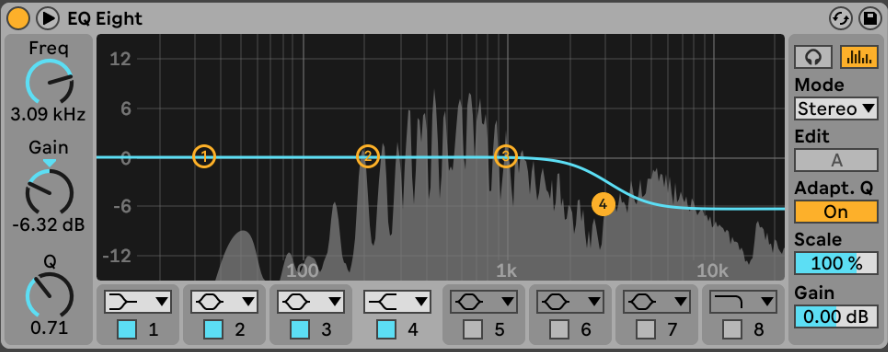
Step 6: EQing on the Bus
Equalizers can add a similar sound profile to a group of instruments that are being sent to a bus. This technique helps us to maintain the tonal characteristics of each layer/instrument along with adding a similar overall frequency spectrum so that they sound related to each other and work better in the mix. EQing your FX bus is also important so that you can control any low-end issues or frequency masking issues with your dry sounds. Automations work great on Bus EQs because it adds a layer of extra tone sculpting abilities. For example, we can have a higher presence for our vocals in the chorus and then we can roll back the presence in the other sections of the song.
As you can see in the image above there is an EQ placed on the drum bus that is being used to boost and attenuate certain frequencies, so everything in the group sounds better in relation to the other instruments. The change in the EQ is very mild (less gain and low Q value) because we do not want to drastically change the sound of our drums. Think of this EQ as a Fine-tuning EQ which will help us to set the right values.
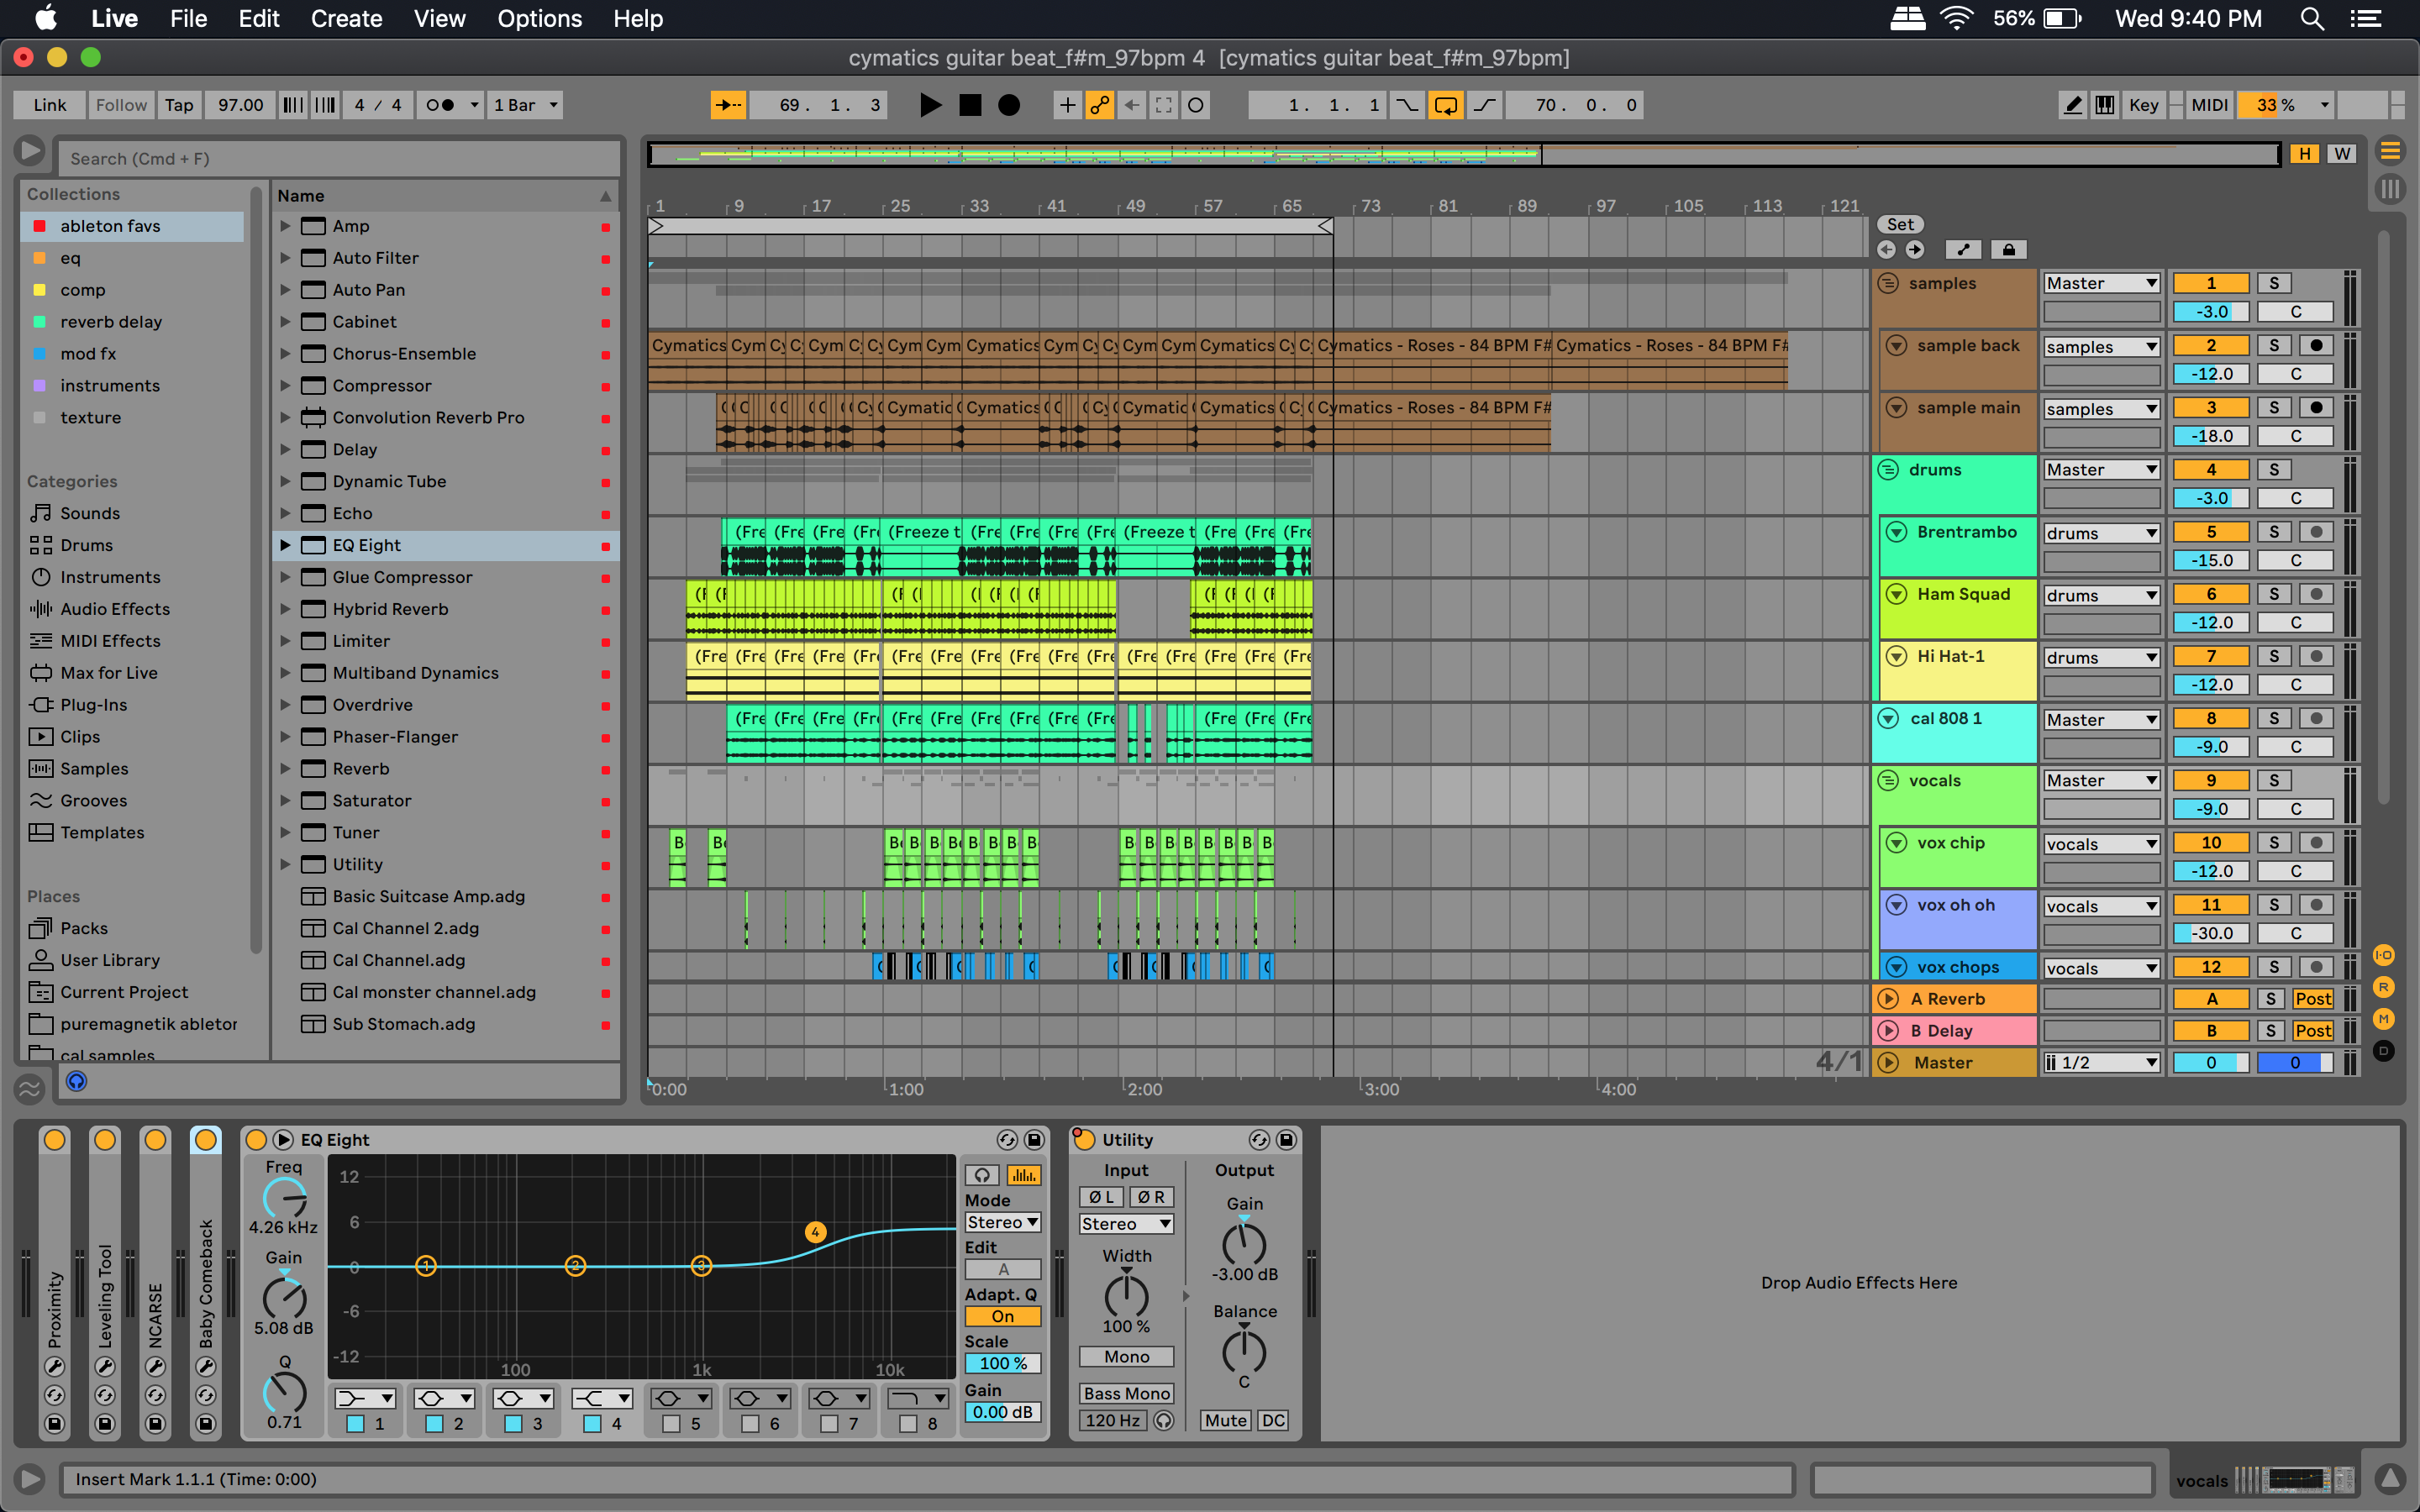
Step 7: EQing your FX
A reverb placed on a return track can make your instruments/drums sound muddy. Adding an EQ on the return after your Reverb can help us attenuate the problematic frequencies, thus making space for our dry sounds. Similarly, you can use your EQ as an insert FX after distortion in your tack to control any nasty frequencies being added. You can also experiment with adding your EQ before the FX to shape the sound going in. This can be useful to sculpt a signal going into perhaps an autotune effect so that only the required frequencies are tuned. This will greatly increase the accuracy of your Autotune plugin.
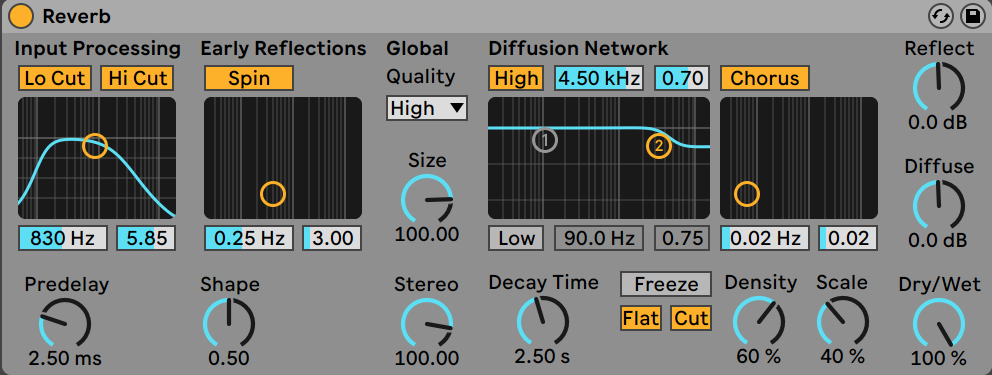
In the images above, you can see that we have added an EQ after our reverb. This gives us an extra level of control and sculpting opportunities for our sound.
